
Cost of Goods Sold (COGS): Cost & Profit Calculator for WooCommerce
Set up WooCommerce
Step 1 – Create API key in WooCommerce

In your WordPress backend, choose WooCommerce : Settings : Advanced : Rest API
Fill out the description field so that you can identify the API key.
Copy and temporarily save the Consumer Key and Consumer Secret. They will not be visible again after leaving the page.
In order to install the app, permalinks have to be enabled. Go to Settings -> Permalinks in your WordPress admin and ensure that a structure is chosen for pages and product pages, which is not the default plain (plain looks like this: yourshop.com/?p=213).
Step 2 – Connect webshop to Stedger
Click Settings in the left-hand menu
Click New App in the bottom of the Settings page
Choose WooCommerce in the pop up

Enter your Shop URL, Consumer Key, Consumer Secret and click Install App
Step 3 – Setting up your Stedger account
Now it’s time to make sure Stedger runs like you want it to.
OBS: We recommend the following plug ins for WooCommerce in order to add cost prices and EAN numbers when connecting products:
A. Auto-forward orders
Do you want to manually send order to the suppliers or have it sent automatically?
By enabling Auto forward orders, everything will be sent automatically and you won’t risk the supplier selling out the item before receiving your order.

Simply click Settings then click the selection bar and Save.
B. Auto price updates
You might want to change your prices depending on your suppliers’ current cost prices.
Click Settings then on your SmartWeb / ScanNet / DanDomain App.
Added Products: You can select if your Prices, Cost/Buying Price and Guideline Price should be added to the product, when creating a new product through Stedger.
Updates: You can select if your Prices, Cost/Buying Price and Guideline Price should be updated when there are changes to those values. Click Save.

C. Notification e-mails
You might want to get e-mail notifications based on Orders and Order Fulfilments.
Click your name in the top-right corner and then Profile.
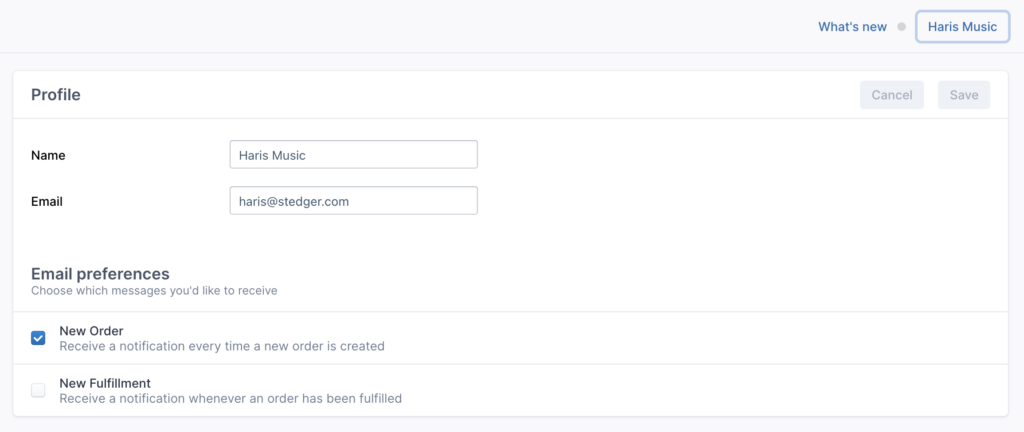
Select the notifications you wish to active and Click Save.
D. Shipping mapping
In order to match your customer’s preferred shipping option, you need to map your shipping options in Stedger.
Go to Settings in Stedger, and you will find this in the first settings block:
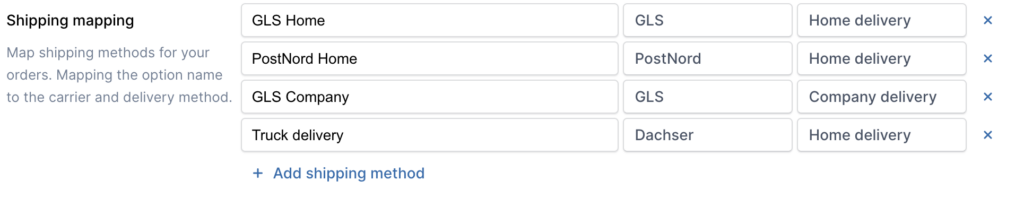
Simply input the exact title name of the shipping option from your shop.
Choose the corresponding Carrier and Delivery type in Stedger.
Click Save.
Step 4 – Choosing and Importing Products
Click Product Library and then Shared Products.
Select the products (or click the top box and select the whole page or all products).
Alternatively, search for a brand, model or type (or use the filters).
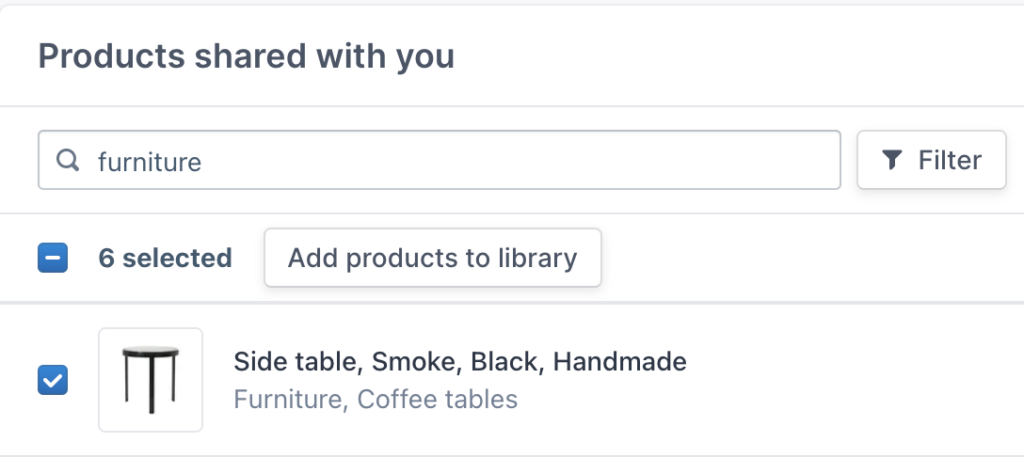
Click Add products to library.
In order to import the products to SmartWeb / ScanNet / DanDomain, Click Product library and again choose all or some of the products and Click Connect products.
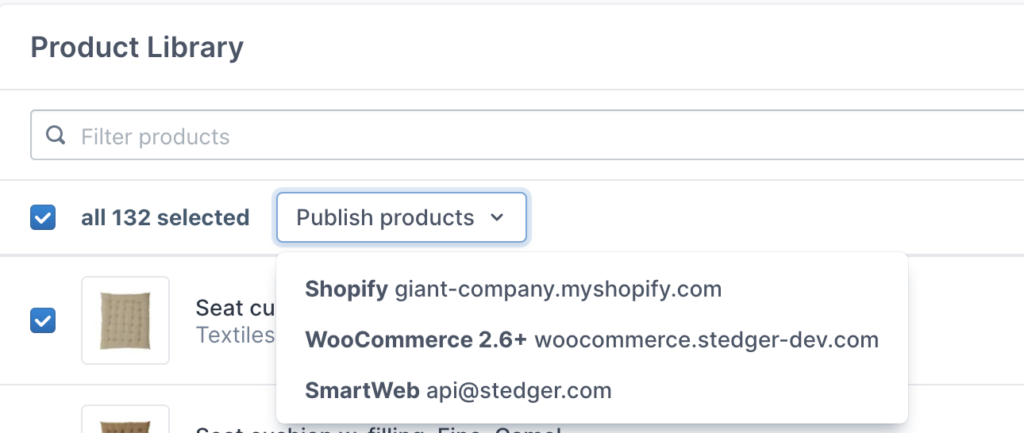
The products are now in your WooCommerce store.
All you have to do now is to make them Available for sale in your store – enjoy!